
How to Create a Stunning Floating Ceiling: Design, Lighting and Installation
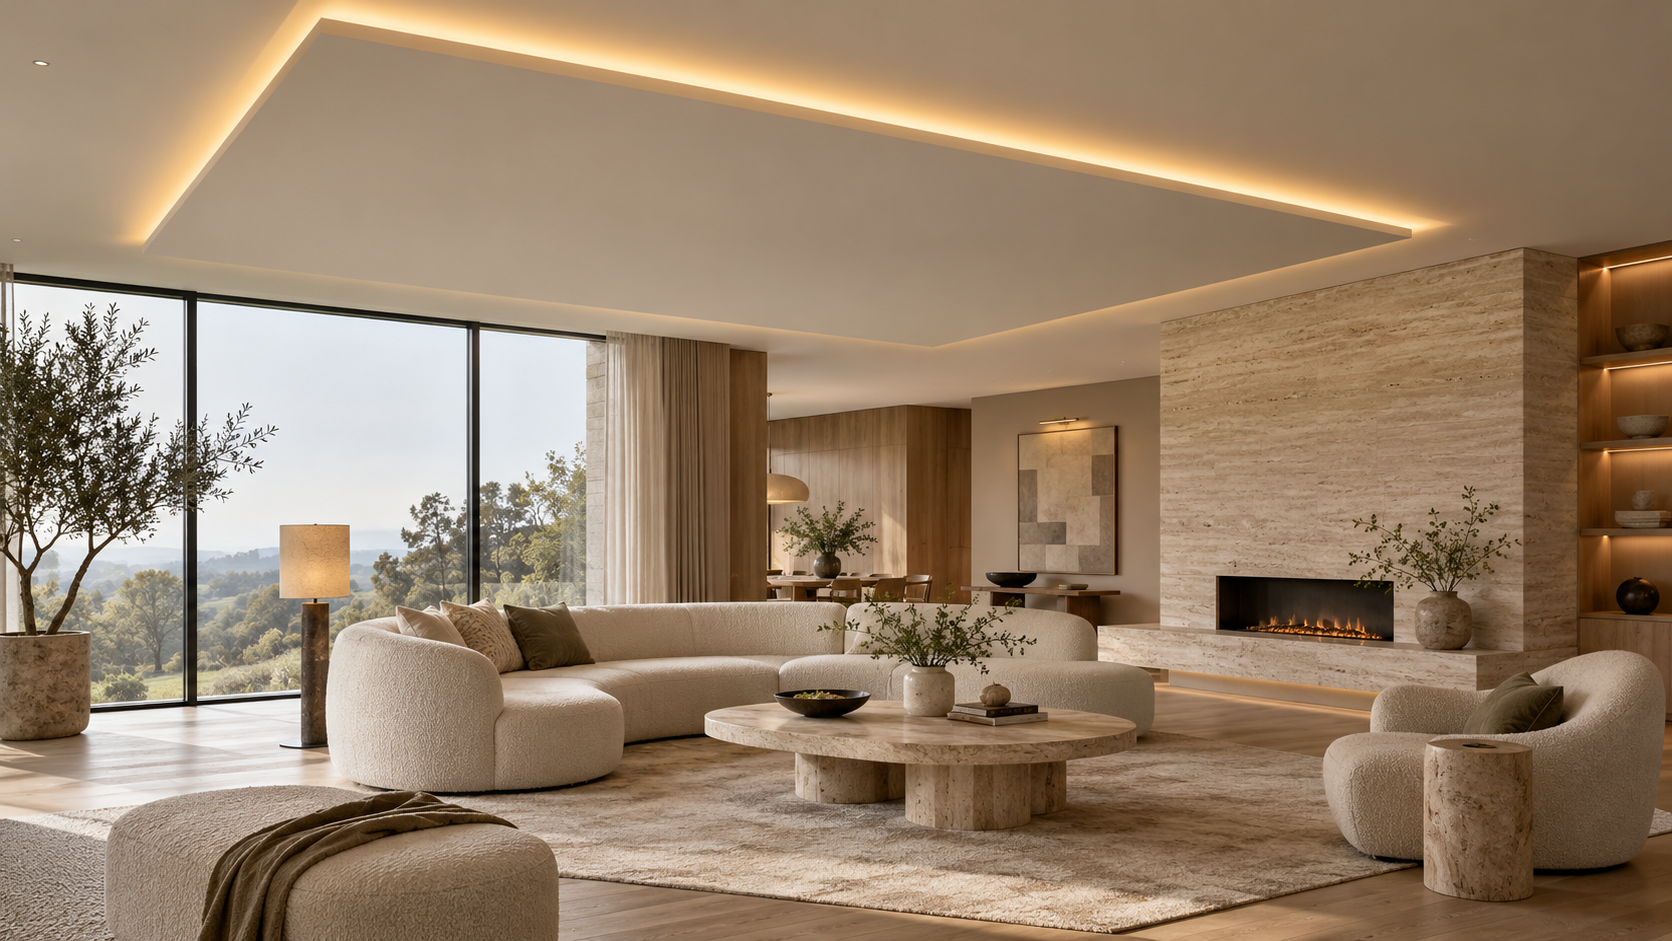
A floating architectural ceiling creates a distinct overhead feature while concealing the fixings, services and lighting that support it. The effect may look effortless, but success depends on careful planning across several trades. Proportions, structural support, wiring routes and plaster finishes all need to be resolved before installation starts. When these details work together, the ceiling appears to hover cleanly within the room and can improve its light, scale and visual character.
Modern Trends in Ceiling Architecture
Floating ceilings have moved beyond simple rectangular rafts. Designers now use stepped planes, curved forms and slim perimeter gaps to define dining areas, reception spaces and open-plan living zones. Some architectural cloud ceilings also support acoustic control, making them useful in larger rooms where hard surfaces create echoes.

Material choice affects both appearance and performance. Plasterboard suits crisp, understated interiors, while timber-effect panels or laminate false ceilings can introduce warmth and texture. Keep the room’s proportions in mind before committing to a deep structure. In a room with a 2.4-metre ceiling, even a modest drop can feel heavy, so a shallow raft with a narrow shadow gap will usually look more balanced.
Securing False Ceilings Safely
Start with the supporting frame, since the finished plasterboard will only be as stable as the structure behind it. Fix the frame into suitable joists or a properly specified metal suspension system. Services such as cables, ventilation ducts and lighting drivers should have their own support instead of resting on the ceiling lining.
Choose fixings to match the substrate. Coarse-thread drywall screws are commonly used for plasterboard fixed to timber studs, while fine-thread versions suit many metal partition applications. Screw length, board thickness and frame type must all be checked together.
Mark every fixing line before boarding and keep screw heads slightly below the paper surface without tearing it. Large, curved or unusually heavy features should be designed and installed by qualified professionals, particularly where suspension points or access panels are required.
Designing Ambient Lighting Pockets
A concealed lighting pocket gives the floating effect much of its depth. Position the light source where it can wash across the main ceiling without exposing individual LEDs from normal viewing angles. A deeper recess generally produces a softer gradient, while a shallow pocket can create bright lines and visible hotspots.
Allow space for the LED profile, diffuser, wiring and driver. Drivers need ventilation and future access, so hiding one permanently behind a plastered surface creates an avoidable maintenance problem. A discreet removable panel or accessible cupboard route works better.
Test a short lighting section before closing the ceiling. Check it from the doorway, seated positions and nearby stairs, since sightlines change across the room. Warm white light around 2700K suits relaxed living spaces, while 3000K can give kitchens and work areas a cleaner appearance without feeling stark.
Crisp Plastering for Seamless Edges
Clean edges depend on accurate boarding long before the final coat goes on. Cut each board carefully, support every joint and use corner beads where exposed edges need protection. Poorly supported board ends often produce hairline cracks, especially around lighting pockets where heat and repeated maintenance can place extra strain on the finish.
Apply joint tape and compound in controlled layers, allowing each coat to dry fully. Rushing this stage can leave ridges that become obvious once concealed lighting grazes across the surface. Sand with a bright work light aimed parallel to the ceiling, as this reveals minor hollows and raised edges.
The final paint should have a consistent sheen. Flat or matt finishes tend to disguise small surface variations better than reflective paints, although the plaster still needs careful preparation. Prime repaired areas before applying the finishing coats to prevent patchy absorption.
A convincing floating ceiling comes down to millimetres at the perimeter. Keep the shadow gap even, confirm the lighting remains accessible and inspect the finish with the feature switched on before the room is signed off. That final lighting check often reveals details ordinary daylight misses.